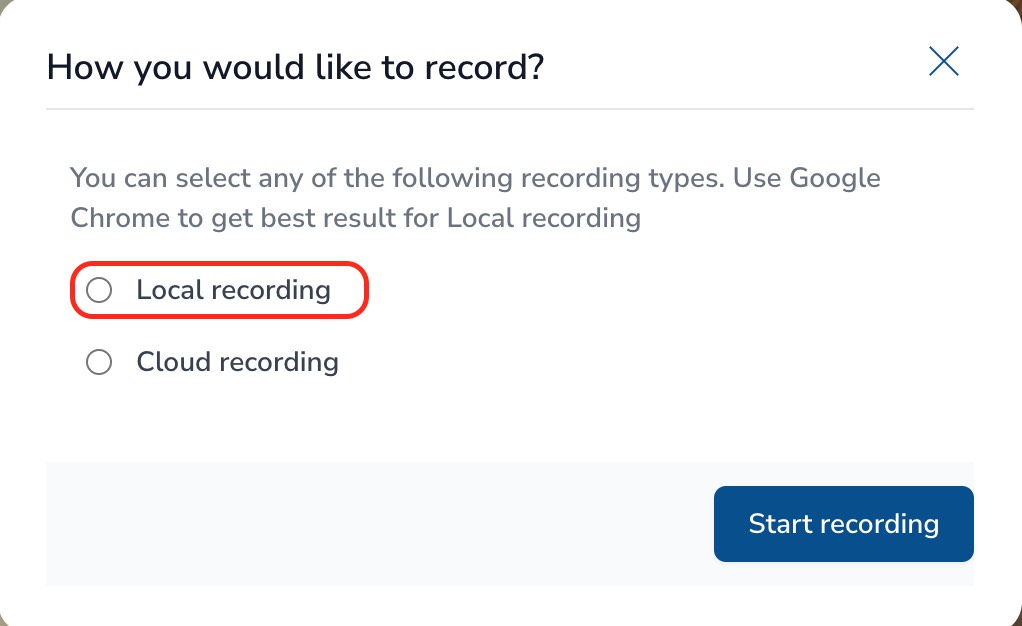
Local recording in PlugNMeet allows you to record your session directly on your device using your web browser. However, because this feature depends on how your browser handles tab audio and screen capture, it’s important to follow specific steps to ensure everything (especially the audio) is recorded correctly.
This guide explains how to properly use the local recording feature in PlugNMeet, what to avoid, and how it differs from cloud recording.

Method 1: Use a Separate Chrome Window with Another User
This is the most reliable method:
-
Open a new Google Chrome window (not a tab), ideally with a separate user profile.
-
Join the PlugNMeet session as an admin from this window.
-
Start local recording — a screen sharing popup will appear.
-
Select the current tab and make sure to check “Share tab audio”.
-
This setup allows full capture of the session audio, including participants and shared media.
Method 2: The Microphone Activation Trick (Simplified, but Limited)
This trick works if you're using only one user/session:
-
First, enable or share your microphone in the session.
-
Then, click on “Start Local Recording.”
Why it works: When you start recording after enabling your microphone, Chrome includes your audio input in the tab capture.
Limitation: This method only captures your mic input and the audio from the tab you're recording. If your mic isn’t enabled before clicking the record button, your voice will be excluded, and there's no way to fix that later.
Final Tip
If you see that your local recording is missing audio, double-check:
- That you used Google Chrome.
- That you selected the correct tab.
- That you enabled the “Share tab audio” option.
- That your microphone was enabled before starting the recording.
Following these steps ensures a smooth and complete recording of your PlugNMeet session.